Laptop Stand
Starting with the leg, I first draw a rough outline of it on the YZ plane.
.png)
I constraint the slanted angles to be parallel, then set dimensions to fully constraint the sketch.
.png)
.png)
Next I set parameters for thickness and leg-width which can be found under the Modify tab. This makes it easier to adjust material thickness and width without having to redefine every body part.
.png)
To use the parameters, type the parameter name in the object dimension. As you change the parameter value the body dimensions will update and change.
.png)
I fillet the edges of the leg, then copied the body a legwidth distance away.
.png)
Next I created a new component "Top".
I project the slanted side of the legs to make it more visible. I then create a sketch on the side and draw a rectangle.
.png)
I then add dimensions to constraint the sketch.
.png)
I want to add tabs so I can fit the parts together, so I draw a small rectangle at one corner, above the leg piece and added dimensions.
.png)
.png)
To add tabs to the other corners, I draw a center line on horizontally and vertically. Then I use the mirror tool to project the rectangle to each corners.
.png)
.png)
I extrude the top by negative "thickness", so the part will cut into the legs, creating it as a new body.
.png)
To cut the tabs, I use the combine tool.
First selecting the legs as the Target body and the top as the Tool body. I use the cut operation while selecting keep tools.
.png)
The end result is tabs appearing on the legs.
.png)
Next I want to create extra supports for the legs. First I offest a plane so the supports can be drawn in between the legs.
.png)
.png)
I sketch a rectangle support on the offest plane and constraint it.
.png)
As I want to be able to slot the support in, when extruding I leave a gap at where the legs are.
.png)
I then create a midplane to mirror the support to the other side. Similar to before, I use the combine tool to create the slot, with the legs as the Target body and the support as the Tool body, using cut while keeping the tool.
.png)
.png)
To make it easier to slot in the tabs, I fillet the tabs and slot edges.
.png)
To add texture, I used Appearance under Modify tab. Simple find for a texture of your choice and drag it onto the part. Here I give the stand an oak wood texture.
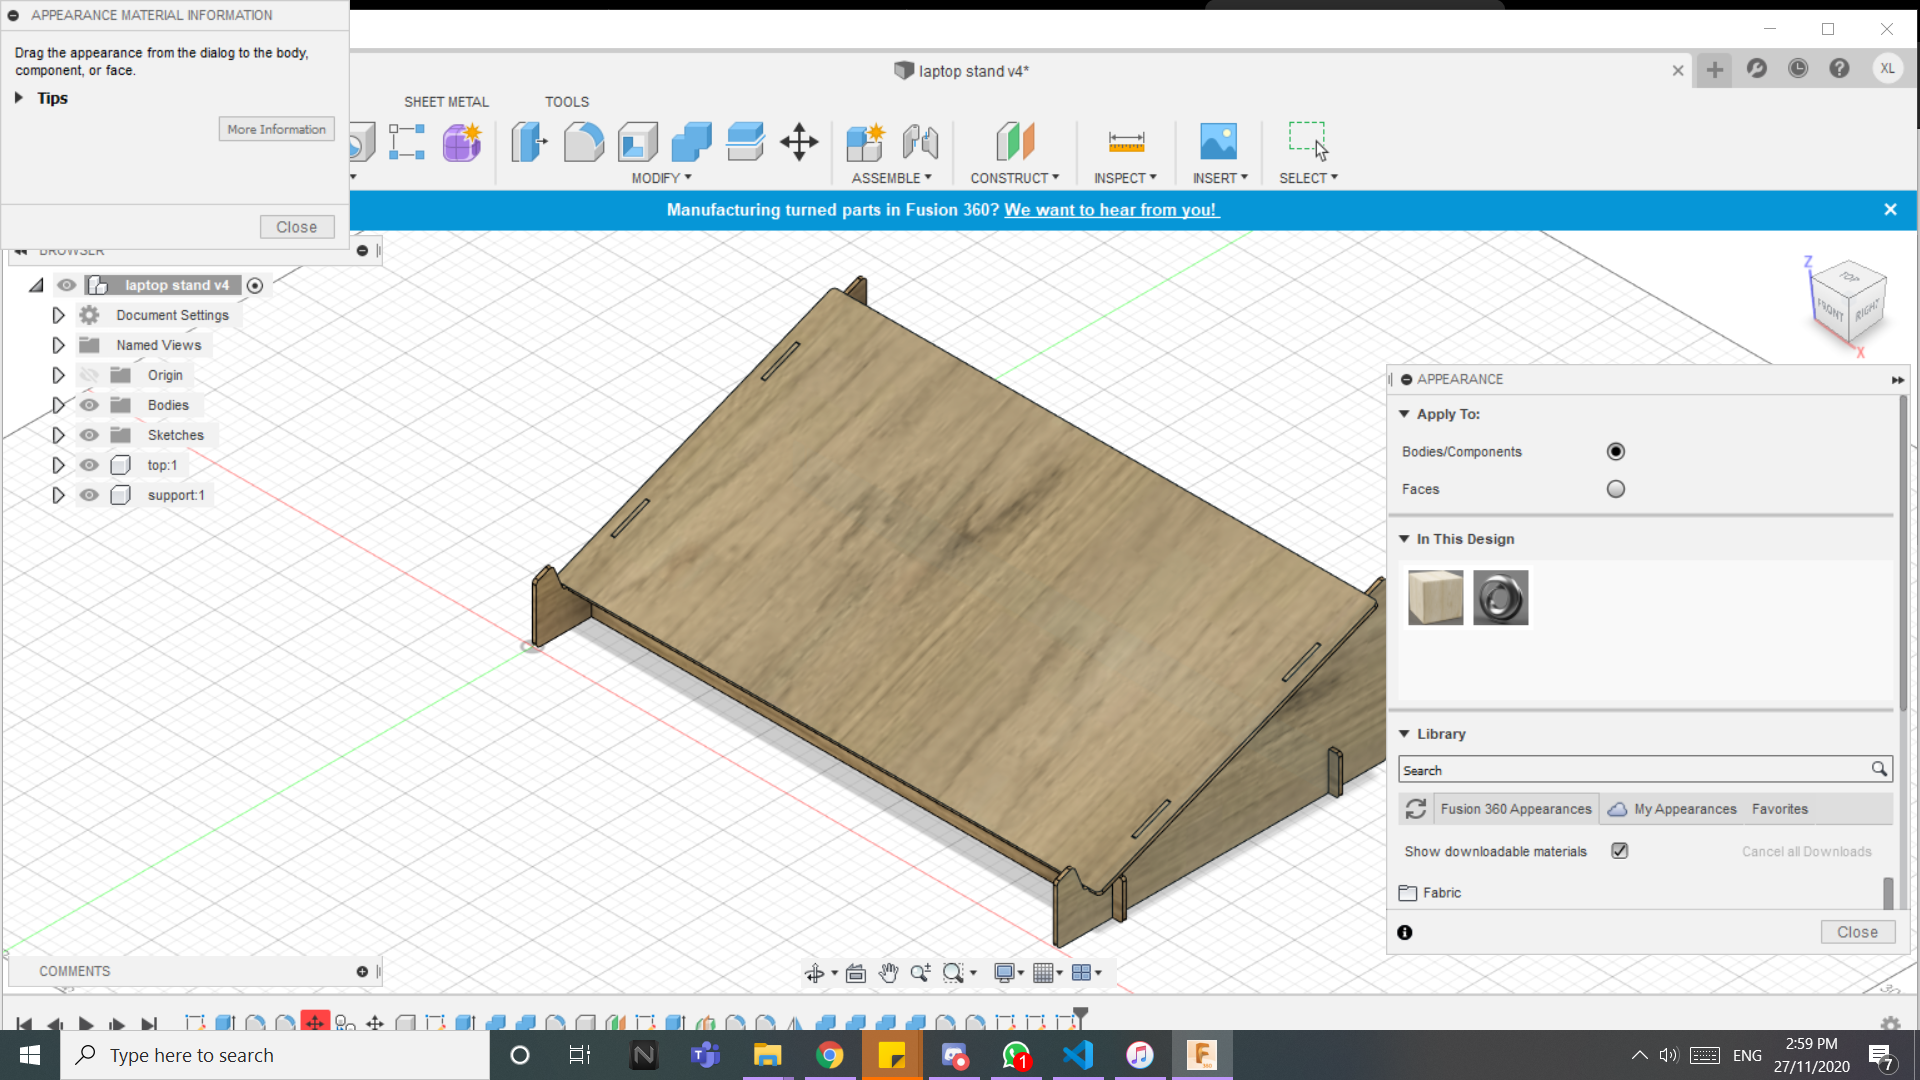
Here's the completed stand:
download